Key Takeaways
- Plan the outdoor kitchen around your cooking habits, available space, and the number of people you usually entertain.
- Choose a practical layout that provides enough room for cooking, preparation, serving, and comfortable movement.
- Select weather-resistant cabinets, countertops, appliances, and other materials designed for outdoor conditions.
- Organize cooking, preparation, storage, and serving areas into efficient work zones.
- Plan plumbing, electrical, and gas connections before installing cabinets and countertops.
- Keep seating away from hot appliances while maintaining clear and comfortable walking paths.
- Set a realistic budget and prioritize safety, durability, and function before adding decorative extras.
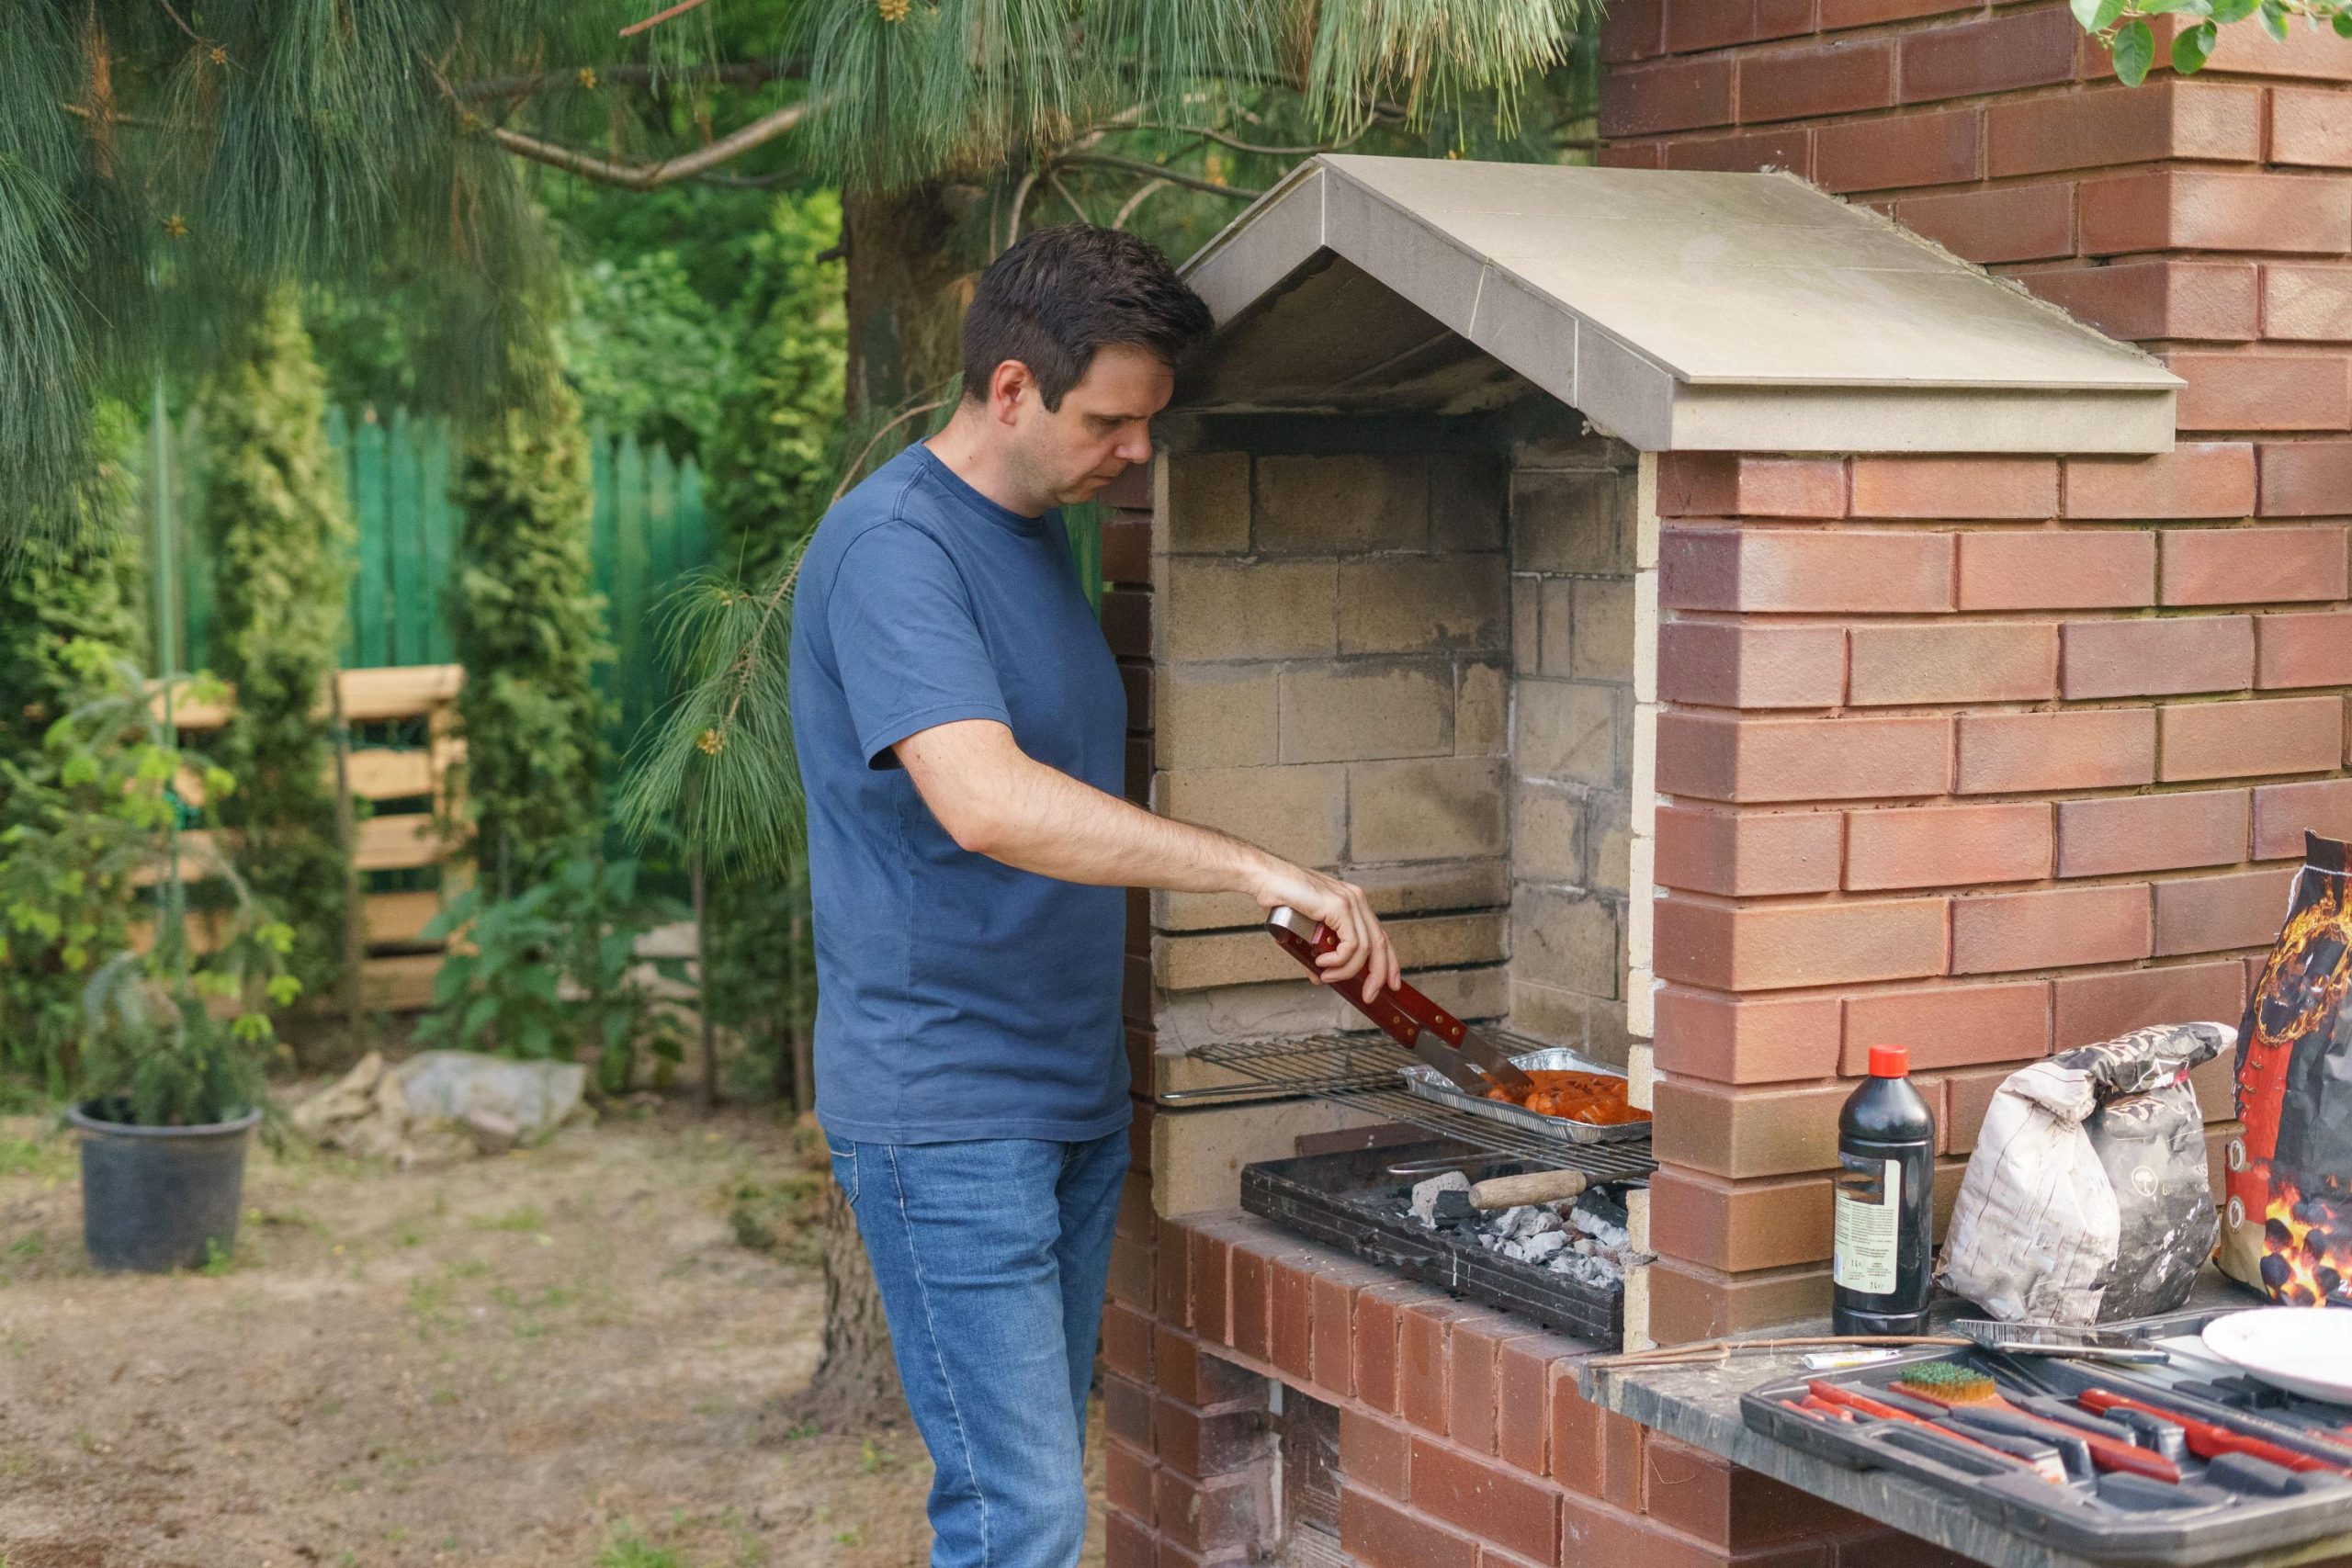
An outdoor kitchen can make your backyard more useful for cooking, dining, and entertaining. Instead of carrying food and supplies between the house and grill, you can create a dedicated space where everything you need is close at hand. A well-designed kitchen can also make a patio feel more organized and welcoming.
Building an outdoor kitchen requires more planning than simply adding a grill and counter. You need enough room for cooking and food preparation, safe walking paths, and materials that can handle rain, sun, heat, and changing temperatures.
Before buying appliances or materials, think about how you will use the space. Someone who grills occasionally may only need a basic cooking station, while a homeowner who entertains often may want more storage, seating, and counter space.
The following steps can help you create an outdoor kitchen with a practical layout, durable materials, and features that fit your lifestyle and budget.
1. Decide How You Will Use the Kitchen
Start by thinking about what you normally cook outside and how many people you serve. This will help you avoid paying for features you rarely use.
A simple outdoor kitchen might include a grill, preparation counter, and storage cabinet. If you regularly host larger gatherings, you may also want a refrigerator, sink, bar seating, or additional cooking equipment.
Separate your ideas into needs and wants. Your grill and preparation surface may be essential, while a beverage cooler or pizza oven could be added later.
Consider how people will use the area too. Guests should have somewhere to sit without standing in the cooking zone, and children should have enough space to move without getting close to hot appliances.
Designing around your actual habits is usually more useful than copying an elaborate outdoor kitchen you have seen online.
2. Choose the Right Location
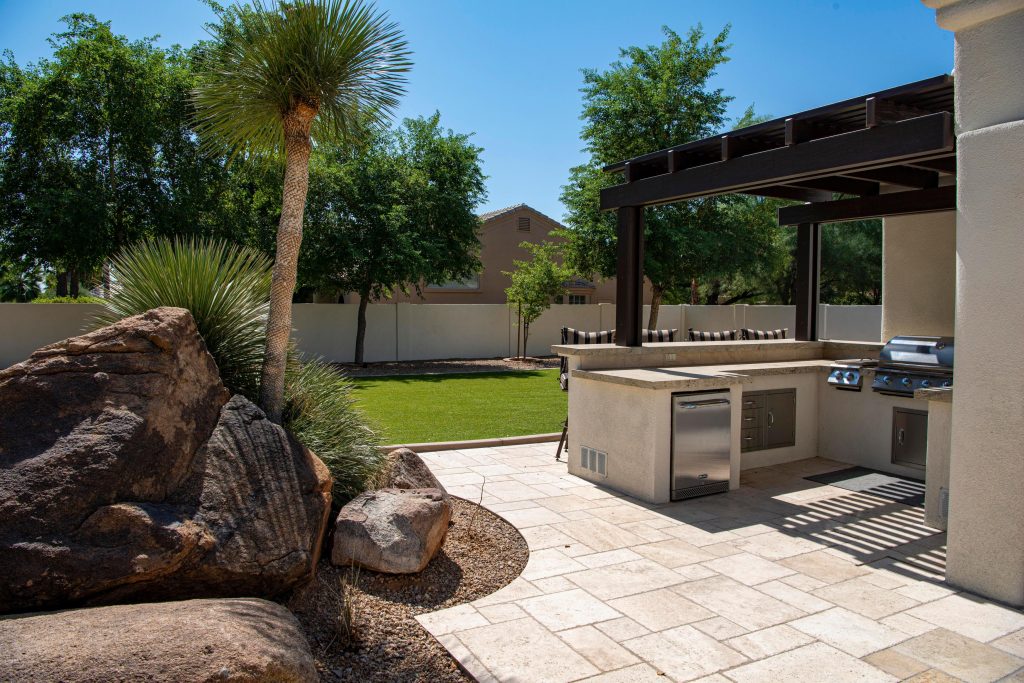
Location affects safety, convenience, comfort, and project cost. Keeping the outdoor kitchen reasonably close to your house can make carrying food and supplies easier.
However, avoid blocking doors, windows, walkways, drainage areas, vents, and access to utilities. Grills and other cooking appliances also need proper clearance and ventilation according to manufacturer instructions.
Consider the direction of smoke and wind. You do not want grill smoke constantly blowing toward your house, dining table, or neighboring property.
Sun exposure is another concern. Strong afternoon sunlight can make the cooking area uncomfortable. Existing shade may help, but trees, umbrellas, and structures should not interfere with the safe operation of cooking equipment.
Check local building, zoning, fire, and utility requirements before beginning permanent work.
3. Pick a Practical Layout
The size and shape of your patio will influence your kitchen layout.
A straight-line kitchen is one of the simplest choices. The grill, counter, and storage sit along one side of the patio. This arrangement works well in smaller spaces and can require fewer materials.
An L-shaped kitchen provides more counter space and creates separate areas for cooking and serving. A U-shaped layout offers even more workspace but needs a larger patio.
You might also add an island for preparation or seating. Make sure it does not create narrow paths around appliances.
Before building anything, use painter’s tape or chalk to mark the proposed kitchen on the ground. Walk through the layout and imagine opening cabinets, preparing meals, using the grill, and serving guests. Testing the design now can prevent expensive changes later.
4. Organize the Kitchen Into Work Zones
A practical outdoor kitchen should make it easy to move from one task to another.
Start with a cooking zone around the grill and other hot appliances. Nearby, provide a preparation zone with enough counter space for cutting, seasoning, and arranging food.
A serving zone can hold finished dishes while keeping guests away from hot cooking surfaces. If you include a sink, place useful counter space nearby for cleaning and preparation.
Cold storage should also be easy to reach without interfering with the cook.
Think about the normal order of preparing a meal. Ingredients may move from the refrigerator to the preparation counter, then to the grill, and finally to the serving area. A good layout makes this process simple without unnecessary steps.
5. Use Weather-Resistant Framing and Cabinets
Outdoor kitchen materials face conditions that indoor cabinets do not. Moisture, sunlight, insects, wind, and temperature changes can damage materials that are not designed for exterior use.
Depending on the design, kitchen bases may use masonry, concrete block, exterior-rated metal framing, or manufactured outdoor cabinet systems.
Avoid standard indoor cabinetry unless the manufacturer specifically approves it for outdoor installation. Materials made for climate-controlled rooms can swell, rust, rot, or break down when exposed to weather.
The surface supporting the kitchen must also be strong enough for heavy appliances, cabinets, and countertops.
If you plan to install a large masonry kitchen on an existing patio, consider whether the patio can support the added weight. A qualified professional can evaluate the surface if you are unsure.
6. Select a Durable Countertop
Outdoor countertops must handle food preparation along with sunlight, moisture, stains, temperature changes, and frequent cleaning.
Natural stone can work well, although maintenance varies by stone type. Some surfaces may require periodic sealing or special cleaning products.
Concrete is another option and can be formed to fit different layouts. However, proper installation and finishing are important because staining and cracking can occur.
Certain porcelain and exterior-rated tile systems may also be suitable. If you choose tile, consider the grout and underlying installation materials as well as the tile itself.
Always check whether a countertop material is approved for exterior use in your climate. A surface designed for an indoor kitchen may not perform well outside.
7. Choose Appliances Designed for Outdoor Use
Start with the appliances you know you will use regularly. For many homeowners, the grill is the most important feature.
Choose a grill that matches your cooking habits instead of automatically selecting the largest model. Larger equipment costs more and takes away valuable counter space.
If you want a refrigerator, make sure it is rated for outdoor installation in the location you have chosen. Indoor refrigerators are not necessarily designed for outdoor temperature and moisture conditions.
The same rule applies to beverage coolers, ice makers, burners, and other appliances.
Know the exact appliance dimensions before building cabinets or cutting countertops. Follow manufacturer instructions for clearances, ventilation, electrical connections, and fuel lines.
8. Plan Utilities Before You Build
Utilities should be planned before cabinets and countertops are installed. Adding them afterward can require removing completed parts of the kitchen.
Gas appliances may need an appropriate fuel connection. Refrigerators and lighting require electrical service, while a sink may require water supply and drainage.
Utility planning is an important part of many outdoor renovation projects because permanent changes can involve permits, building codes, drainage, and buried services. Contact the appropriate utility locating service before digging, and use qualified professionals when licensed work is required.
Think carefully about which utilities you actually need. A sink can be convenient, but it may not be worth the plumbing cost if your outdoor kitchen is only a few steps from the indoor kitchen.
Keeping the design simple can significantly reduce project complexity.
9. Include Useful Outdoor Storage
Storage keeps grilling tools and supplies close to the cooking area while reducing countertop clutter.
Choose cabinets, drawers, and containers designed for exterior conditions. Consider the amount of rain, humidity, sunlight, and temperature change they will experience.
Think about what you actually need to store outside. Grill tools, cleaning supplies, and durable serving pieces may be useful near the cooking area. Food and temperature-sensitive items should be stored appropriately rather than left in unsuitable outdoor cabinets.
Avoid filling the kitchen with storage you do not need. A few well-placed drawers or cabinets may provide enough space while leaving more room for food preparation.
10. Add Seating Without Crowding the Cooking Area
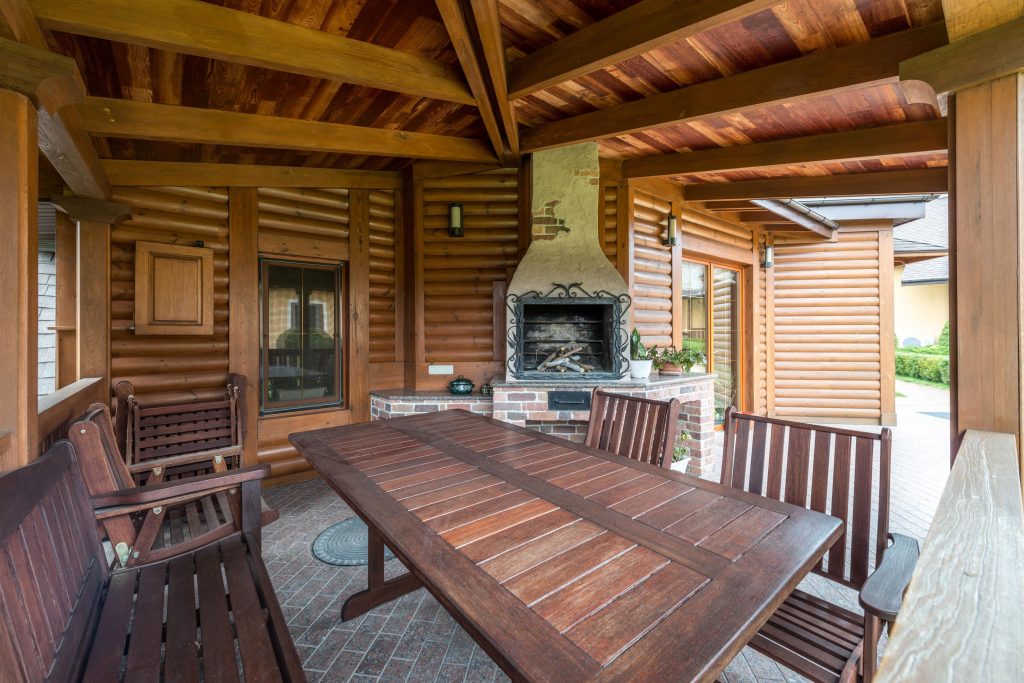
Outdoor kitchens often become gathering spaces, so plan where guests will sit before construction begins.
Bar seating along a counter can let people talk with the cook without standing directly beside the grill. A nearby dining table may be better for larger meals.
Keep chairs and stools away from hot appliances. Guests should not have to walk through the main cooking area to reach their seats.
Also account for chairs when they are pulled away from the table or counter. A walkway that seems wide when furniture is tucked in may become crowded once people sit down.
Comfortable circulation is more important than fitting the maximum number of seats into the space.
11. Plan Lighting and Shade
Lighting allows you to use the kitchen safely after sunset. Focus first on practical task lighting around grills, counters, sinks, and other work areas.
Decorative fixtures can then provide softer lighting around dining and seating areas. Always select fixtures rated for the outdoor conditions where they will be installed.
Shade can improve daytime comfort. Patio umbrellas, pergolas, and other appropriate structures may help protect seating and preparation areas from strong sunlight.
However, shade materials must not interfere with cooking equipment. Keep combustible materials away from grills and follow required clearance and ventilation guidelines.
Sometimes simply changing the kitchen’s orientation can reduce direct sun without adding a large structure.
12. Choose Surfaces That Are Easy to Clean
Outdoor kitchens deal with grease, food spills, smoke, dust, pollen, and rain. Easy-to-clean materials can reduce the amount of work required to maintain the space.
Use smooth, durable surfaces around food preparation areas. Avoid unnecessary gaps and detailed textures where grease and crumbs can collect.
Flooring should also provide secure footing, especially when wet. A highly polished surface may become slippery after rain or near a sink.
Consider maintenance before selecting decorative finishes. A beautiful material that requires constant sealing or difficult cleaning may not be the best choice for a frequently used kitchen.
Always follow manufacturer instructions when selecting cleaning products for stone, metal, tile, grout, and other surfaces.
13. Create a Realistic Project Budget
Outdoor kitchen costs can increase quickly once appliances, countertops, cabinets, utilities, lighting, and labor are combined.
Create a budget before purchasing major items. Divide costs into categories such as site preparation, appliances, construction materials, utilities, storage, counters, lighting, and seating.
Set aside some money for unexpected costs as well. Discovering a drainage issue or needing additional electrical work can affect the final price.
Prioritize safety and function before appearance. A stable base, correct utility installation, durable materials, and reliable cooking equipment are generally more important than decorative extras.
If the complete kitchen costs too much, build it in phases. Start with the grill, preparation counter, and basic storage. Additional appliances, seating, lighting, and decorative finishes can be added later.
Conclusion
Building an outdoor kitchen starts with careful planning. Before choosing appliances or finishes, decide how you will use the space, where the kitchen should go, and which layout provides enough room for cooking, preparation, serving, and movement.
Choose materials made to handle outdoor conditions. Cabinets, countertops, appliances, flooring, and lighting should be appropriate for the weather and environment where they will be installed. Planning for durability can help prevent unnecessary repairs and replacement later.
Pay close attention to utilities, ventilation, clearances, drainage, and local requirements when permanent construction is involved. Gas, electrical, plumbing, and structural work may require qualified professionals depending on the project and local rules.
Most importantly, focus on function before adding extras. A practical cooking zone, useful counter space, durable materials, and comfortable walking paths provide the foundation for a successful outdoor kitchen. Once those essentials are in place, you can add storage, seating, lighting, and other features that make the space more enjoyable for everyday meals and backyard gatherings.